It has been awhile since I have posted anything but I did manage to get a little gaming done over the holidays and I have had the bug since.
I now have a dedicated gaming room since a family member moved out in December. I should be able to game more now since I don't have to worry about cluttering up the house, and now all of my stuff is in one place...HUZZAH!
I bought
Bloody Big Battles by Chris Pringle almost immediately after it came out but I have not played it much until now. I was drawn to the rules by their focus and scale...which, of course, is all in the name. I have been gaming mostly skirmish/small action for the last couple of years primarily due to space/cost/time restrictions, but my first love is grand tactical gaming and BBB allows for just that. You can read a good overview of BBB
here but I thought I would share some of my impressions before the AAR.
BBB utilizes some of the basic concepts of Fire and Fury such as an integrated movement and morale table and combat by stand count etc. I own FaF Brigade and honestly have never been a huge fan. Not because it is a bad game but because I don't have the money or time to come up with three or four hundred stands of troops and I don't have room for a 9'x6' board (which is what Chickamauga would require in FaF). BBB on the other hand allows for far fewer troops (about 100 stands total for my Chickamauga scenario) to be played in a smaller area (6'x4') and still give a good game.
I played a few games of BBB solo prior to now and thought it was a good system but not one I would use very often. However, after hammering out my own scenario with extensive playtesting I have found I really like these rules a great deal. They give a quick, decision rich, and fun game.
The Chickamauga scenario in this AAR is being developed by yours truly and is available in the files section of the
BBB yahoo group. There are a number of other ACW scenarios there as well written by Chris and other players (Shiloh, Gettysburg, the Wilderness etc.) I have only played my scenario solo and have gone through many revisions and had input from Chris on the yahoo group. But the following AAR shows the scenario very close to what I have envisioned. If you are unfamiliar with Chickamauga or just want to refresh your memory, you can read about the actual battle
here.
The figures in the AAR are all 1/72 plastics from various companies...I apologize as most are poorly painted and hastily rebased. Also, sorry about the pics, all I have is a crappy cell phone...
So without further ado...(descriptions are below the pics)
Initial setup a view from the Confederate Right..Northern edge is to the right
The Confederate left
Intitial setup - entire board
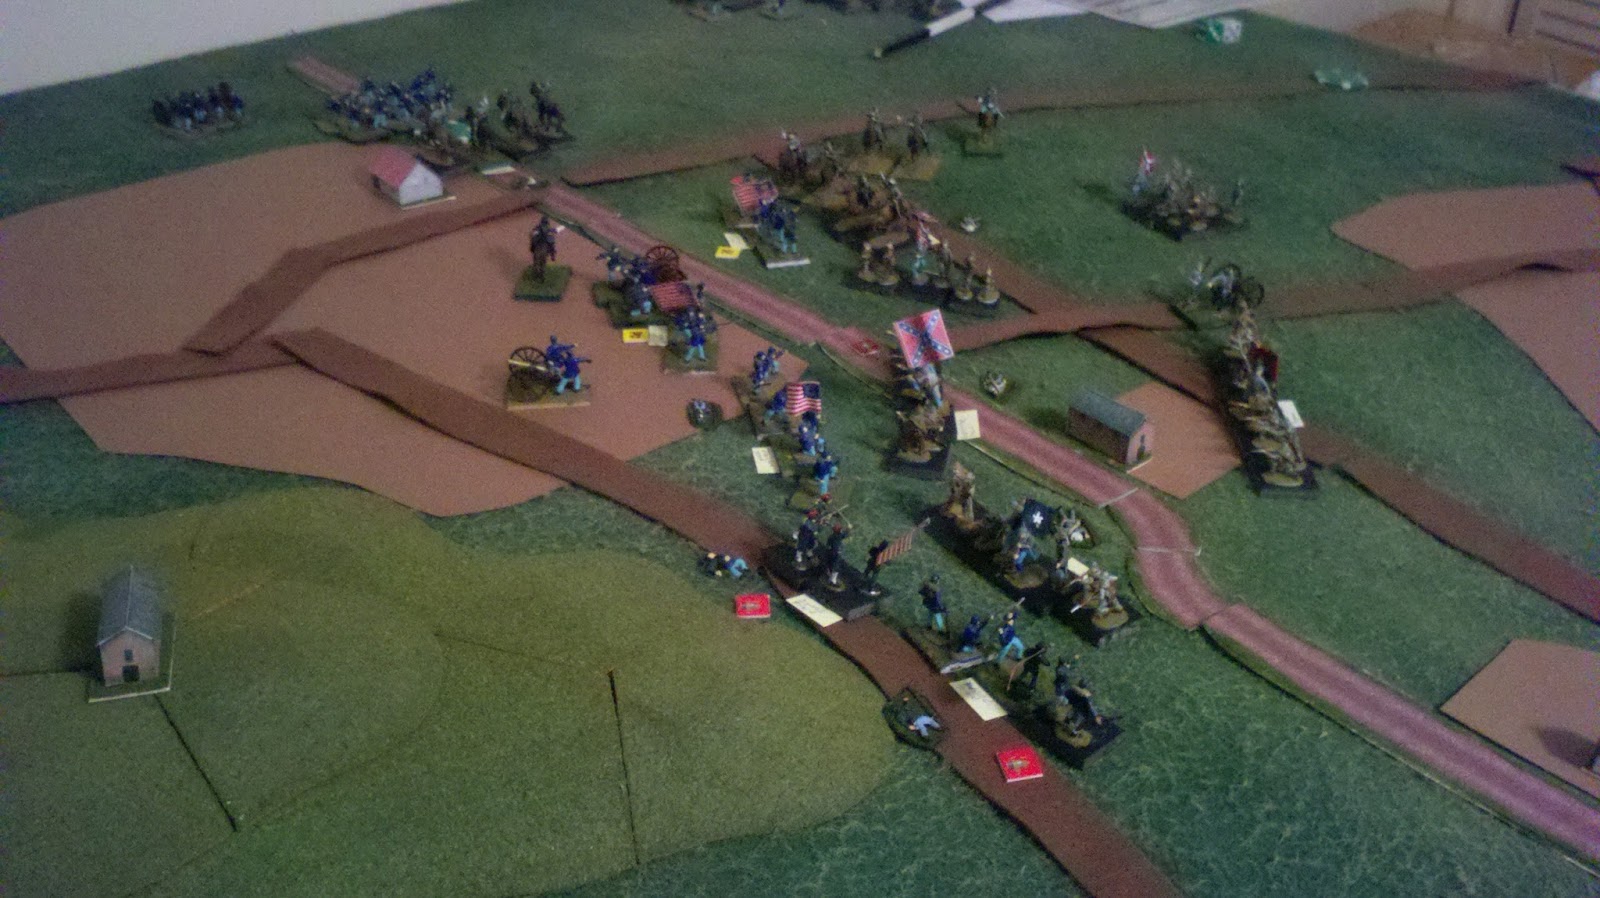
Fighting on turn 2 (I dispensed with the "smoke" after this turn just because I am lazy)
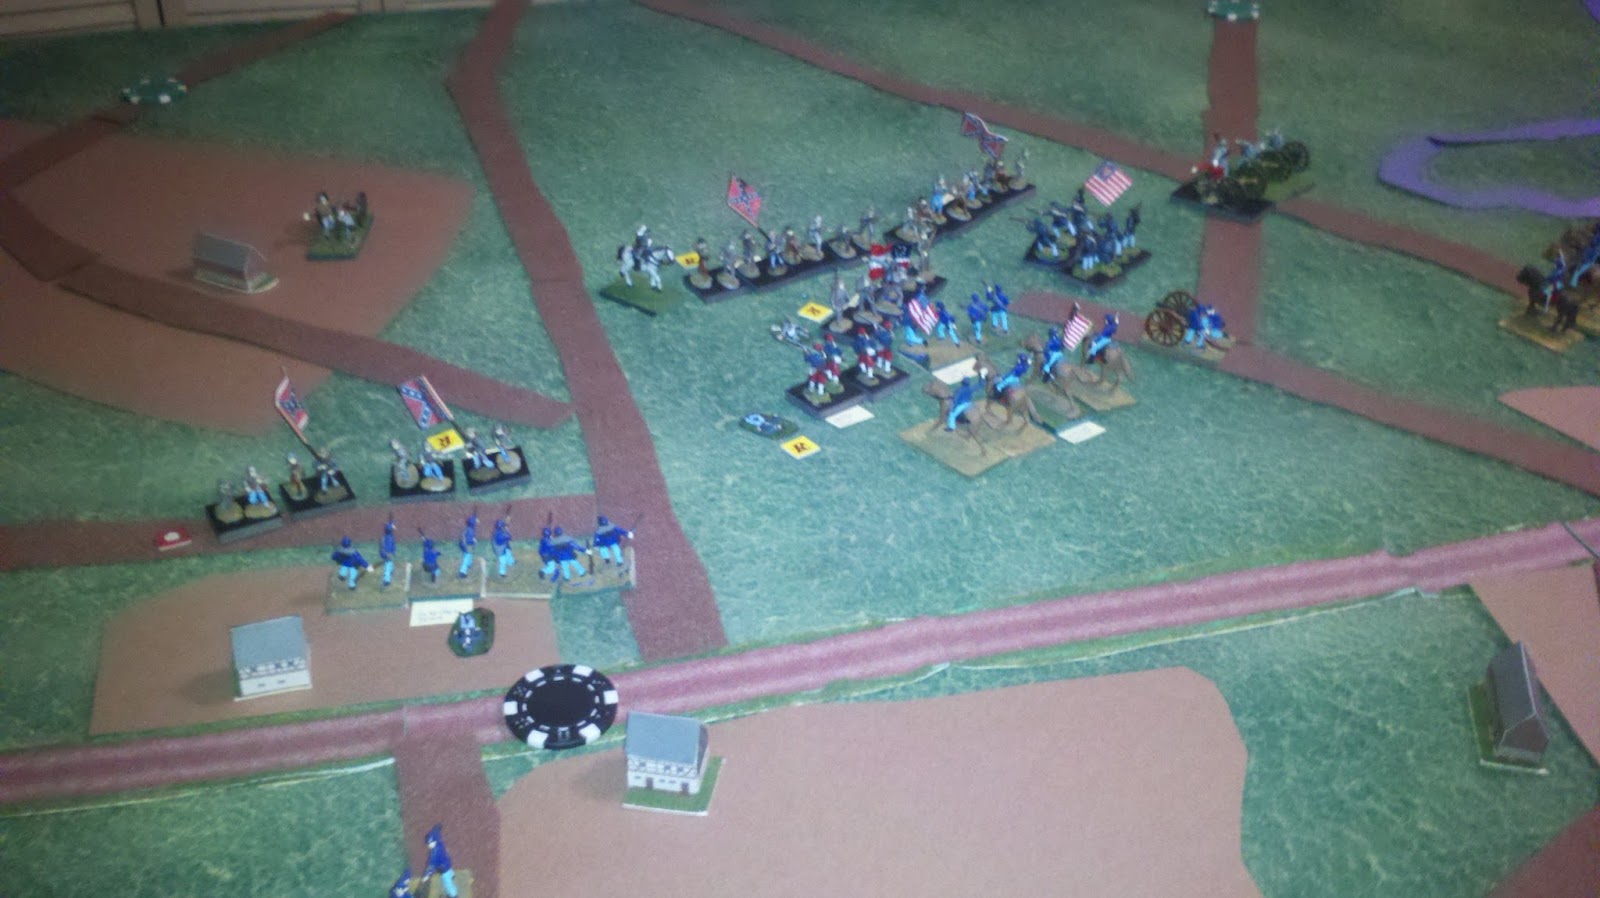
Johnson's Division retreats leaving Baird's flanks "hanging"
the Rebs move slowly on the left
Baird's division is driven back "spent"
Brannan holds on...
but Cheatham fails to exploit the breakthrough
Thomas tries to restore the line
Brannan continues to hold
U.S. reinforcement begin to trickle in.
The Rebs are repulsed
The center begins to move as Reb reinforcements arrive
Law and Johnson (CSA) make a push towards a Victory Location
The Rebel left moves up slowly
Pressure mounts in the Union Center
Law and Johnson break through!
Brotherton Victory Location is in Rebel hands
Wood comes to the rescue
The situation at the end of Day 1 center and Confederate left
End of Day 1 Union left
Union losses on day 1 were approximately 8,000 infantry while the Rebs lost 4,000 infantry and 1,000 cavalry.
Stay tuned for day 2 and some final thoughts later this weekend (hopefully!)