After a long hiatus from gaming I managed to get a solo game of Blucher in this week. The game includes a couple of debuts in my collection. The first of my new toys are my Prussian 6mm minis from Commission Figurines . If you have not seen any of these minis and you game Napoleonics in 6mm go and buy them now! They are made from MDF so are very inexpensive and they look superb. The owner, Walt, is a joy to do business with, I highly recommend these figures!
My next acquisition was via ebay and is a set of 75+ Geo-Hex terrain pieces. I didn't really get a super great deal due to some last minute bidding that drove up the price, but I am pleased with the purchase. It has made my table more aethetically pleasing and given me more options when it comes to hills.
So, now the game...I used Sharnhorst to set up the battle which was in Northern Germany 1813-14. The battle of Zellerode (add your own umlauts) initial deployment is shown on the map below along with each army breakdown by points.

| French Army - 299 pts | ||||
| Organization | Unit/Personality | Points | Elan | Traits |
| Subcommander | ||||
| Drout | 5 | N/A | Artillery | |
| I Corps | ||||
| Veteran Inf/Art | 14 | 6 | Skrm | |
| Veteran Inf | 12 | 6 | Skrm | |
| Conscript Inf | 9 | 5 | Skrm, Cncrpt, Shock | |
| Conscript Inf | 9 | 5 | Skrm, Cncrpt, Shock | |
| Conscript Inf | 9 | 5 | Skrm, Cncrpt, Shock | |
| Conscript Inf | 9 | 5 | Skrm, Cncrpt, Shock | |
| Light Cav | 7 | 5 | ||
| Foot Art Btty | 6 | N/A | ||
| 75 | ||||
| II Corps | ||||
| Veteran Inf/Art | 14 | 6 | Skrm | |
| Veteran Allied Inf | 12 | 6 | Skrm | |
| Veteran Allied Inf | 12 | 6 | Skrm | |
| Veteran Allied Inf | 12 | 6 | Skrm | |
| Conscript Inf | 9 | 5 | Skrm, Cncrpt, Shock | |
| Conscript Inf | 9 | 5 | Skrm, Cncrpt, Shock | |
| Conscript Inf | 9 | 5 | Skrm, Cncrpt, Shock | |
| Light Cav | 7 | 5 | ||
| Foot Art Btty | 6 | N/A | ||
| 90 | ||||
| III Corps | ||||
| Veteran Inf/Art | 14 | 6 | Skrm | |
| Veteran Inf | 12 | 6 | Skrm | |
| Veteran Inf | 12 | 6 | Skrm | |
| Conscript Inf | 9 | 5 | Skrm, Cncrpt, Shock | |
| Conscript Inf | 9 | 5 | Skrm, Cncrpt, Shock | |
| Light Cav | 7 | 5 | ||
| Foot Art Btty | 6 | N/A | ||
| 69 | ||||
| Cavalry Corps | ||||
| Light Cav | 7 | 5 | ||
| Light Cav | 7 | 5 | ||
| Allied Cavalry | 7 | 5 | ||
| Dragoons | 10 | 6 | ||
| Dragoons | 10 | 6 | ||
| Heavy Cav | 10 | 6 | ||
| Horse Art Btty | 9 | N/A | ||
| 53 | ||||
| Break Point - 9 | ||||
| Total | 299 | |||
The French army is built for attacking with a large amount of infantry and a powerful cavalry corps.
| Prussian Army - 299 pts | ||||
| Organization | Unit/Personality | Points | Elan | Traits |
| CinC | Blucher | 30 | Legend, Mobile | |
| Subcommander | von Roder | 10 | Cavalry, Inspiring | |
| I Corps | ||||
| Elite Infantry | 18 | 7 | Skrm, Shock, Steadfast | |
| Elite Infantry | 18 | 7 | Skrm, Shock, Steadfast | |
| Line/Art | 14 | 6 | Skrm | |
| Line | 12 | 6 | Skrm | |
| Light Cav | 10 | 6 | ||
| Heavy Art Btty | 9 | |||
| Foot Art Btty | 6 | N/A | ||
| 87 | ||||
| II Corps | ||||
| Line | 12 | 6 | Skrm | |
| Line/Art | 14 | 6 | Skrm | |
| Reserve | 10 | 6 | ||
| Reserve | 10 | 6 | ||
| Light Cav | 10 | 6 | ||
| Foot Art Btty | 6 | N/A | ||
| Heavy Art Btty | 9 | |||
| 71 | ||||
| III Corps | ||||
| Line | 12 | 6 | Skrm | |
| LIne | 12 | 6 | Skrm | |
| Reserve | 10 | 6 | ||
| Landwehr | 6 | 5 | Conscrpt | |
| Landwehr | 6 | 5 | Conscrpt | |
| Light Cav | 10 | 6 | ||
| Foot Art Btty | 6 | N/A | ||
| 62 | ||||
| Cavalry Corps | ||||
| Light Cav | 10 | 6 | ||
| Light Cav | 10 | 6 | ||
| Light Cav | 10 | 6 | ||
| Horse Art Btty | 9 | N/A | ||
| 39 | ||||
| Break Point - 10 | ||||
| Total | 299 | |||
The Prussian army is a defensive force with lots of artillery but a relatively weak cavalry arm.
In the setup phase the Prussians chose to place a road connecting the left and right flank (it did not come into play) and a hill on their right (it also did not affect the battle). The French added a hill on the left and a road on their side (both features played minor roles in the battle).
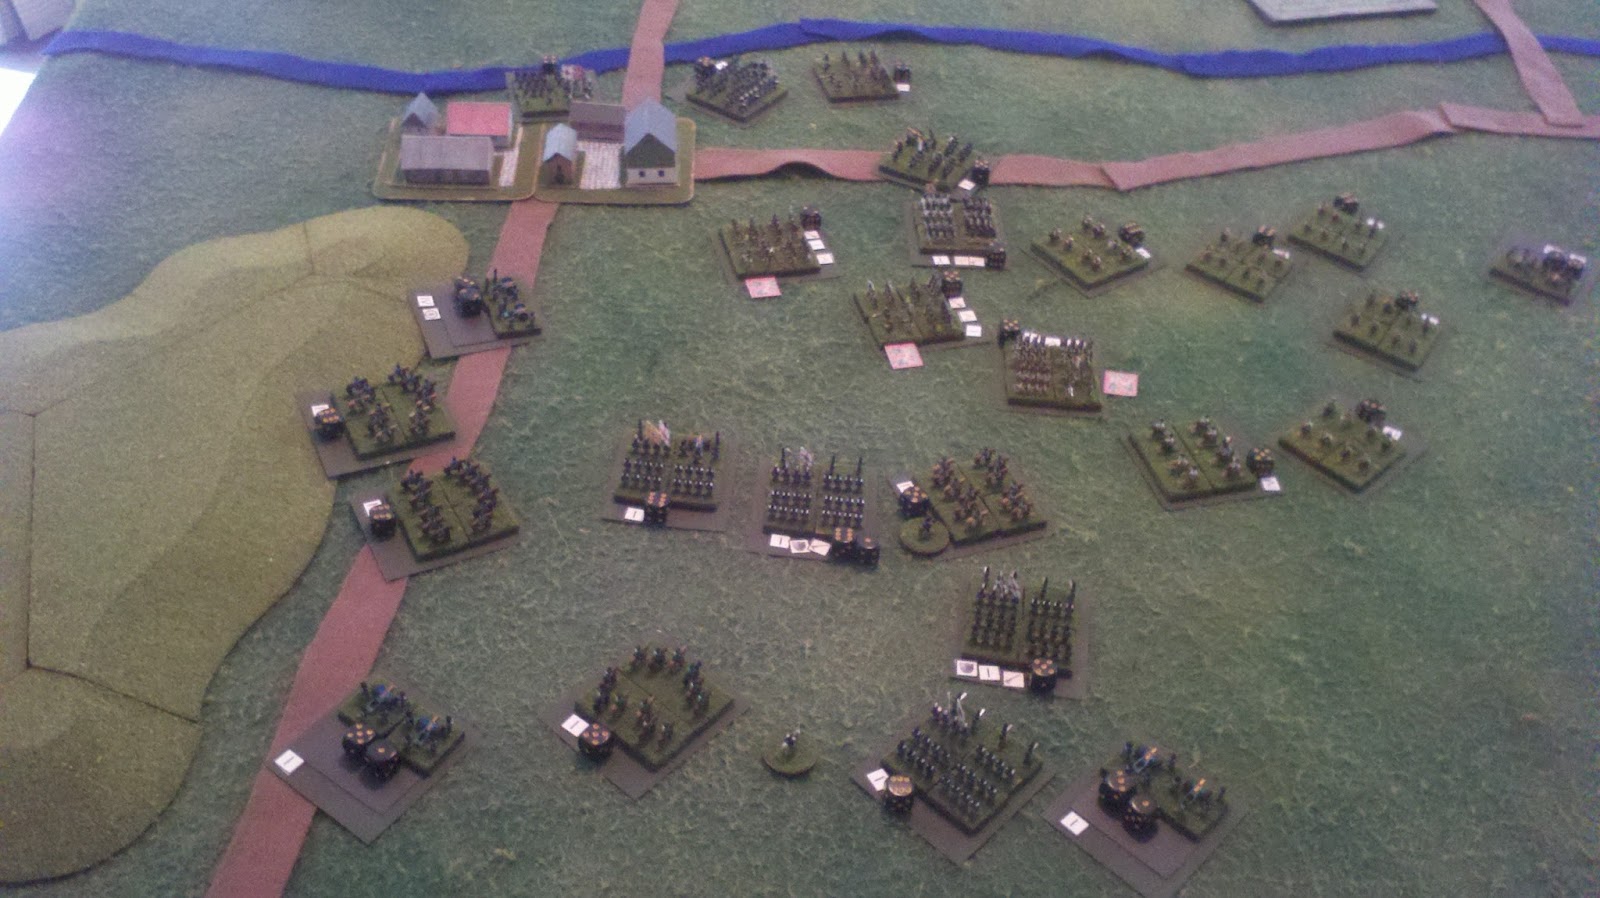
Pictured below is the inital setup for both forces, the Prussians on the left and French on the Right. The French deployment suffered as a result of the Sharnhorst deployment, and as you will see the lack of coordination between the flanks will be the French army's downfall.

The view from the French left flank

The French cavalry in the center

The French right

Prussian cavalry

Prussian Center

View down the French line of battle

And the Prussian

Opening moves...the Prussian I corps arrives on turn 2! (Edit: Should be turn 4, the Prussians second turn. Thanks Robert for pointing out the discrepency)

Opening moves on the French right...

The French cavalry deploy to counter the Prussian reinforcments

The Prussian III corps arrives on turn 6! Bad luck for the French.

The French counter attack on the Prussian right

Overhead view of the French attack
The French are stopped cold on the Prussian left

The French reinforcements finally arrive

The Prussian right holds

Close to the action!

The French II corps has "the slows"

The French redouble their efforts to break the Prussian right

The II corps finally enters the fray

The Prussian cavalry is driven off

The French army's last hope is to break the Prussian left

But command and control has broken down

This shot shows how the battle is really two separate actions in which the French were never able to coordinate to use their superior numbers to an advantage.

Shot of my MDF Landwehr

Prussian counter attack on the left...

...and on the right

The French attack stalls under the weight of the Prussian counter attack

The French withdraw with heavy casualties, the battle ends on turn 25.

The French end up losing 10 broken units and the Prussians 4. Using a highly "scientific" method that consists of total lost elan and educated guesstimating I put losses between 15-20,000 French and 10-12,000 Prussian.
The French really lost this battle for two reason 1) The early arrival of the Prussian reinforcements and B. poor initial deployment due to bad Scharnhorst-ing
I had a good time with this battle and it was nice to get my new toys on the table. I am still painting my Prussians and I have an entire Russian force waiting for paint as well, I hope to do Dennewitz eventually when I get through the mountain of MDF (seriously, go buy Commission Figurines figures!).


